


Why use a trail camera?
Many hunters choose to use a trail camera on their hunting grounds, and so do we.
Setting up a game camera provides some unique opportunities to follow your game, and its behavior and development. For example, you can keep an eye on the animals’ health, the amount of predators on the terrain, and the trophy development on bucks and stags. All knowledge that allows you to plan your hunt and your shooting more selectively than if you went into the woods “blind”.
In addition, it is also really nice to follow what is happening out in nature. Many hunters experience getting pictures of fun and rare situations from nature.
Of course, one should not expect that a game camera can make it out for good hunting knowledge and skills in nature. It is precisely in combination with these that a game camera is a really useful tool.
Tips for hanging up your trail camera
If you want the very best result from your game camera, then it’s very important where and how you hang it up. Therefore, we have created a guide to setting up a game camera, which takes you through some good considerations that will ensure you better image and video material of your game.
Prepare your camera at home
It’s a really good idea to set up your camera from home so it’s definitely ready to hang up when you get to the woods.
Start by making sure that there is a proper SD card in the camera, it should have a good storage space so it can hang for some time, without being filled up. We recommend from 16gb and up. Remember that an SD card is still a good idea, even if your camera sends the images via SMS, email or app, as the camera then automatically stores images on the SD card if there are times without connection.
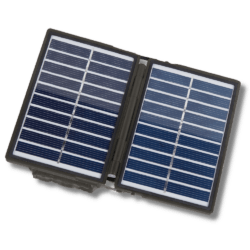
Make sure there are new, good quality batteries in the camera. Then you are sure that you have power for a long period of time and you do not have to change batteries all the time. There are many solutions to extend your trail camera’s battery life, see for example our lithium batteries, solar cells and powerbanks, which keep your camera running for a very long time.
It is also a good idea to choose your desired camera settings from home. On most cameras, you can choose whether you want pictures or video, how many pictures to take at once, etc. Then choose the settings that suit your needs. Personally, I do not want to get 100s of pictures of the same animal at the same time. Therefore, my cameras are set to take pictures when the animal arrives at the camera and a few seconds ahead and then go into pause mode for 5 minutes.
Once you have selected your settings, we recommend that you test your camera at home. Hang it up in the living room or in the garden for a few hours, and walk past it at regular intervals. This way you ensure that everything runs as it should and you avoid driving back and forth to the hunting ground to make the camera work.

Find the right area for your trail camera
It can be hard to find the perfect place to hang a trail camera. So we recommend that you spend some time looking for signs from the game. Then you can pretty sure find an area where the animals come by.
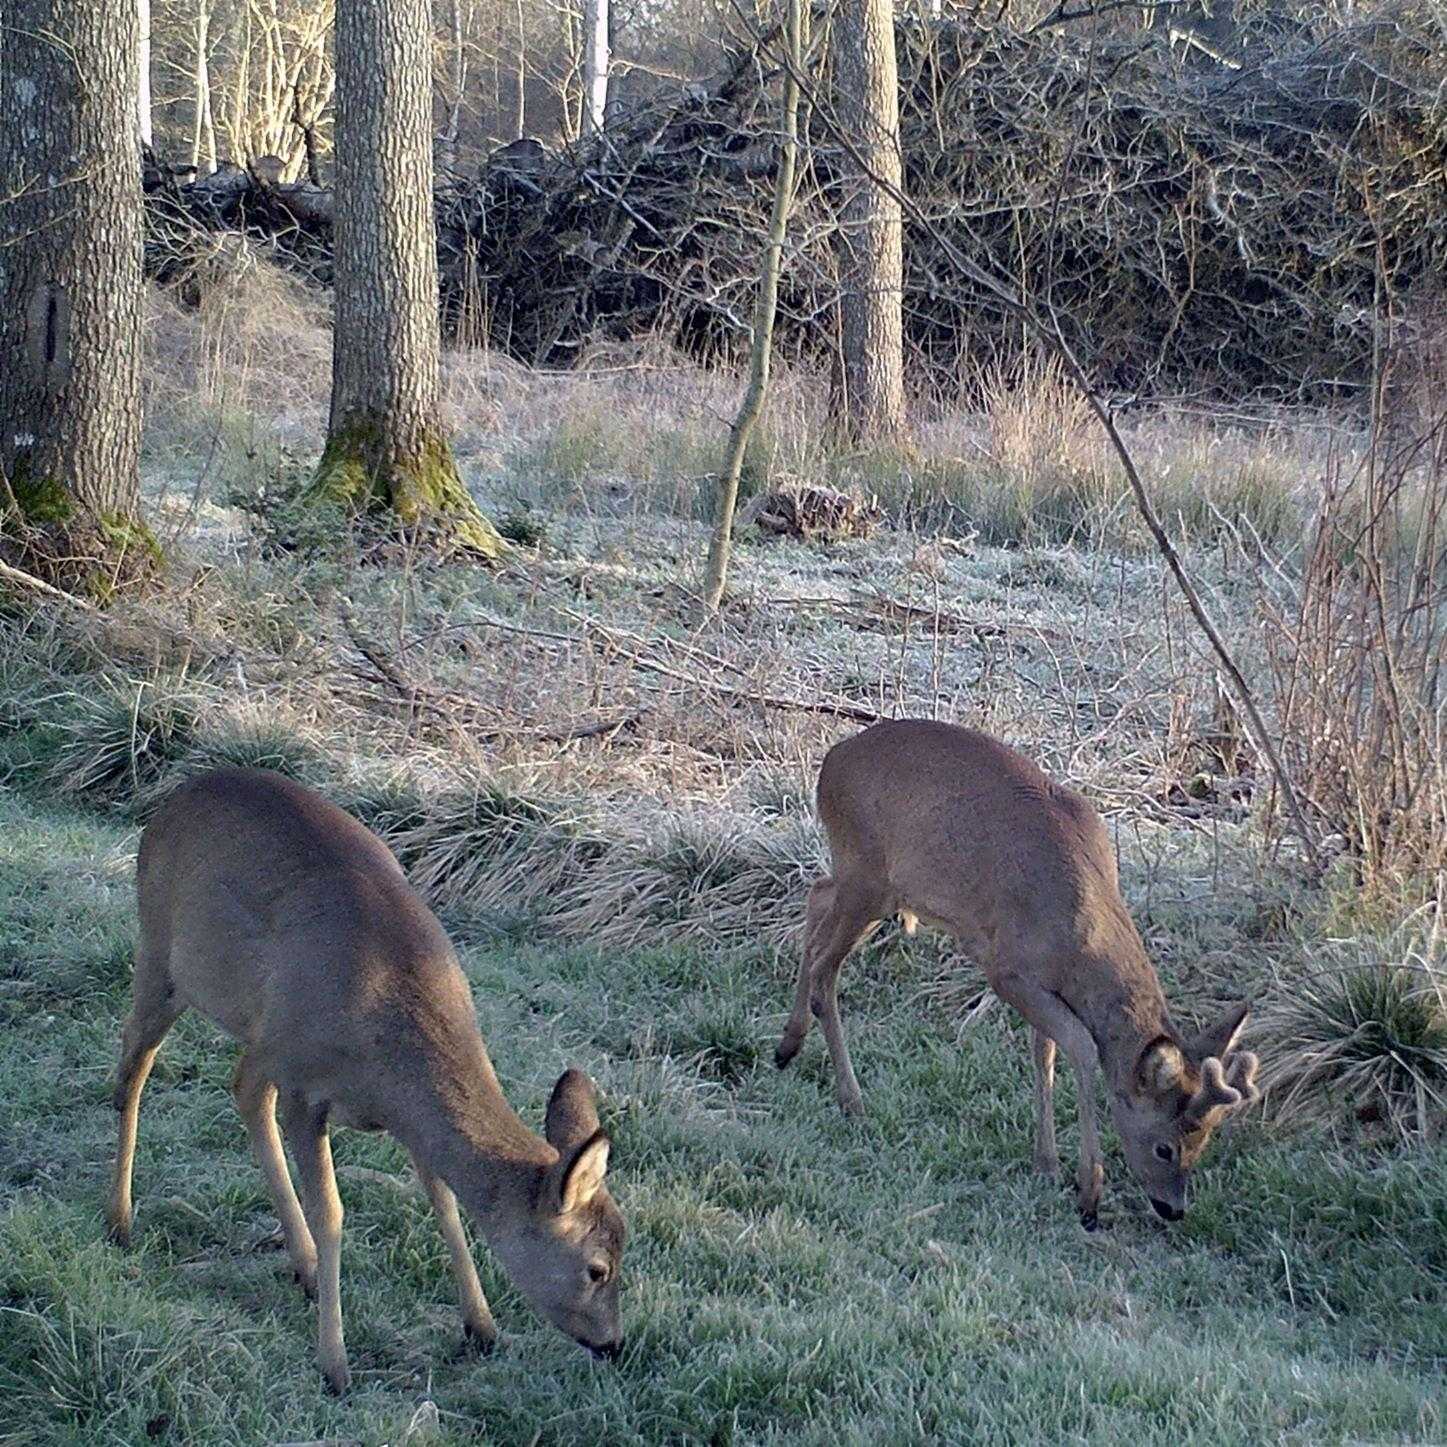
See for example if you can find a good and well-used trail, beds where animals have slept, or footprints and droppings. Then pictures will probably come in pretty quickly. If your main focus is on bucks and stags, it can also provide some good pictures if you find fresh rubbings and scrapes, and place your camera there. In general, it’s just a good idea to find a place where there are signs of activity.
If you have a feed barrel, saltstone, or some other type of feeding area, it is of course also quite obvious to set up a trail camera there. Here you will get pictures of many of the terrains animals, as most species will seek out the easie available food. That way you can follow the development of the animals and their general health.

Placement and setup of a trail camera
Once you have found the right area to “monitor”, you need to find the perfect spot, for the trail camera itself.
First of all, place the camera on something stable. If the camera is placed on a small wind-sensitive tree, you will get too many pictures when the wind blows. Therefore, you need to choose a good solid tree, or knock down a fencepost and fasten the camera to it. Using a post, you are also more flexible to position the game camera perfectly.
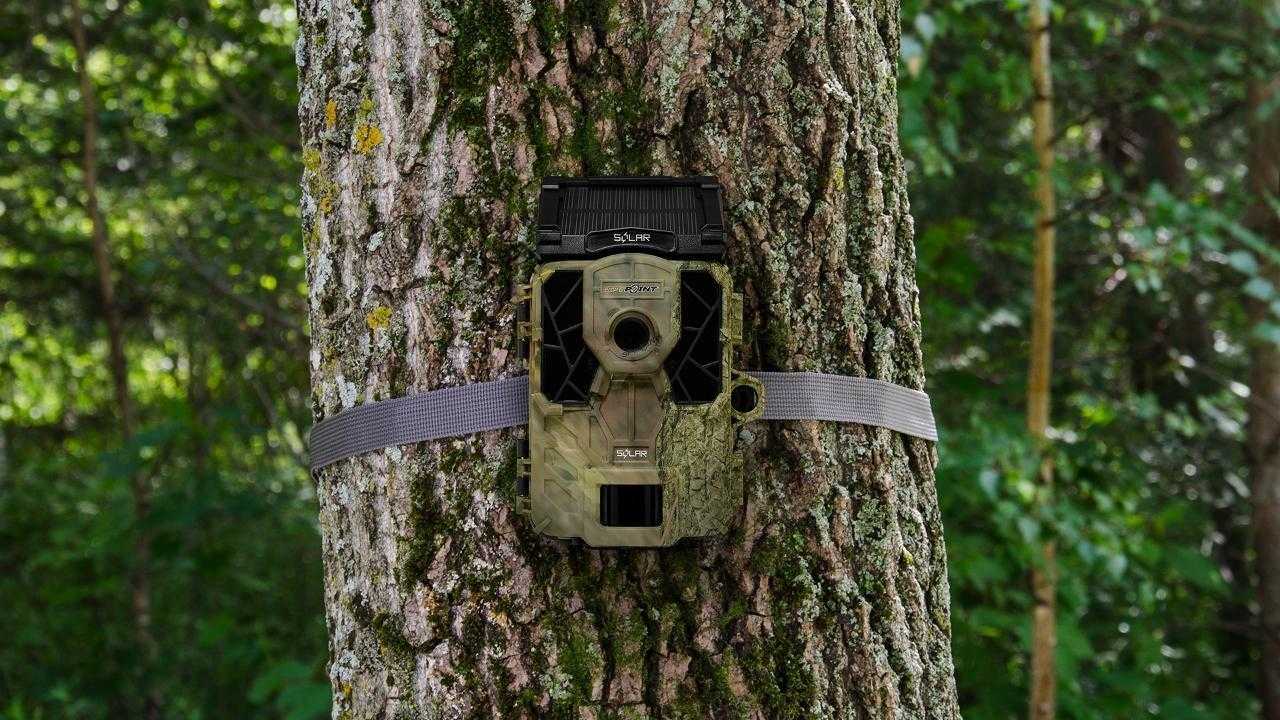
Point your camera either north or south. So you avoid getting a lot of images that are overexposed (white / dazzled) by sunrise and sunset. In addition, you also avoid the camera triggering itself and taking pictures of a whole lot of nothing.
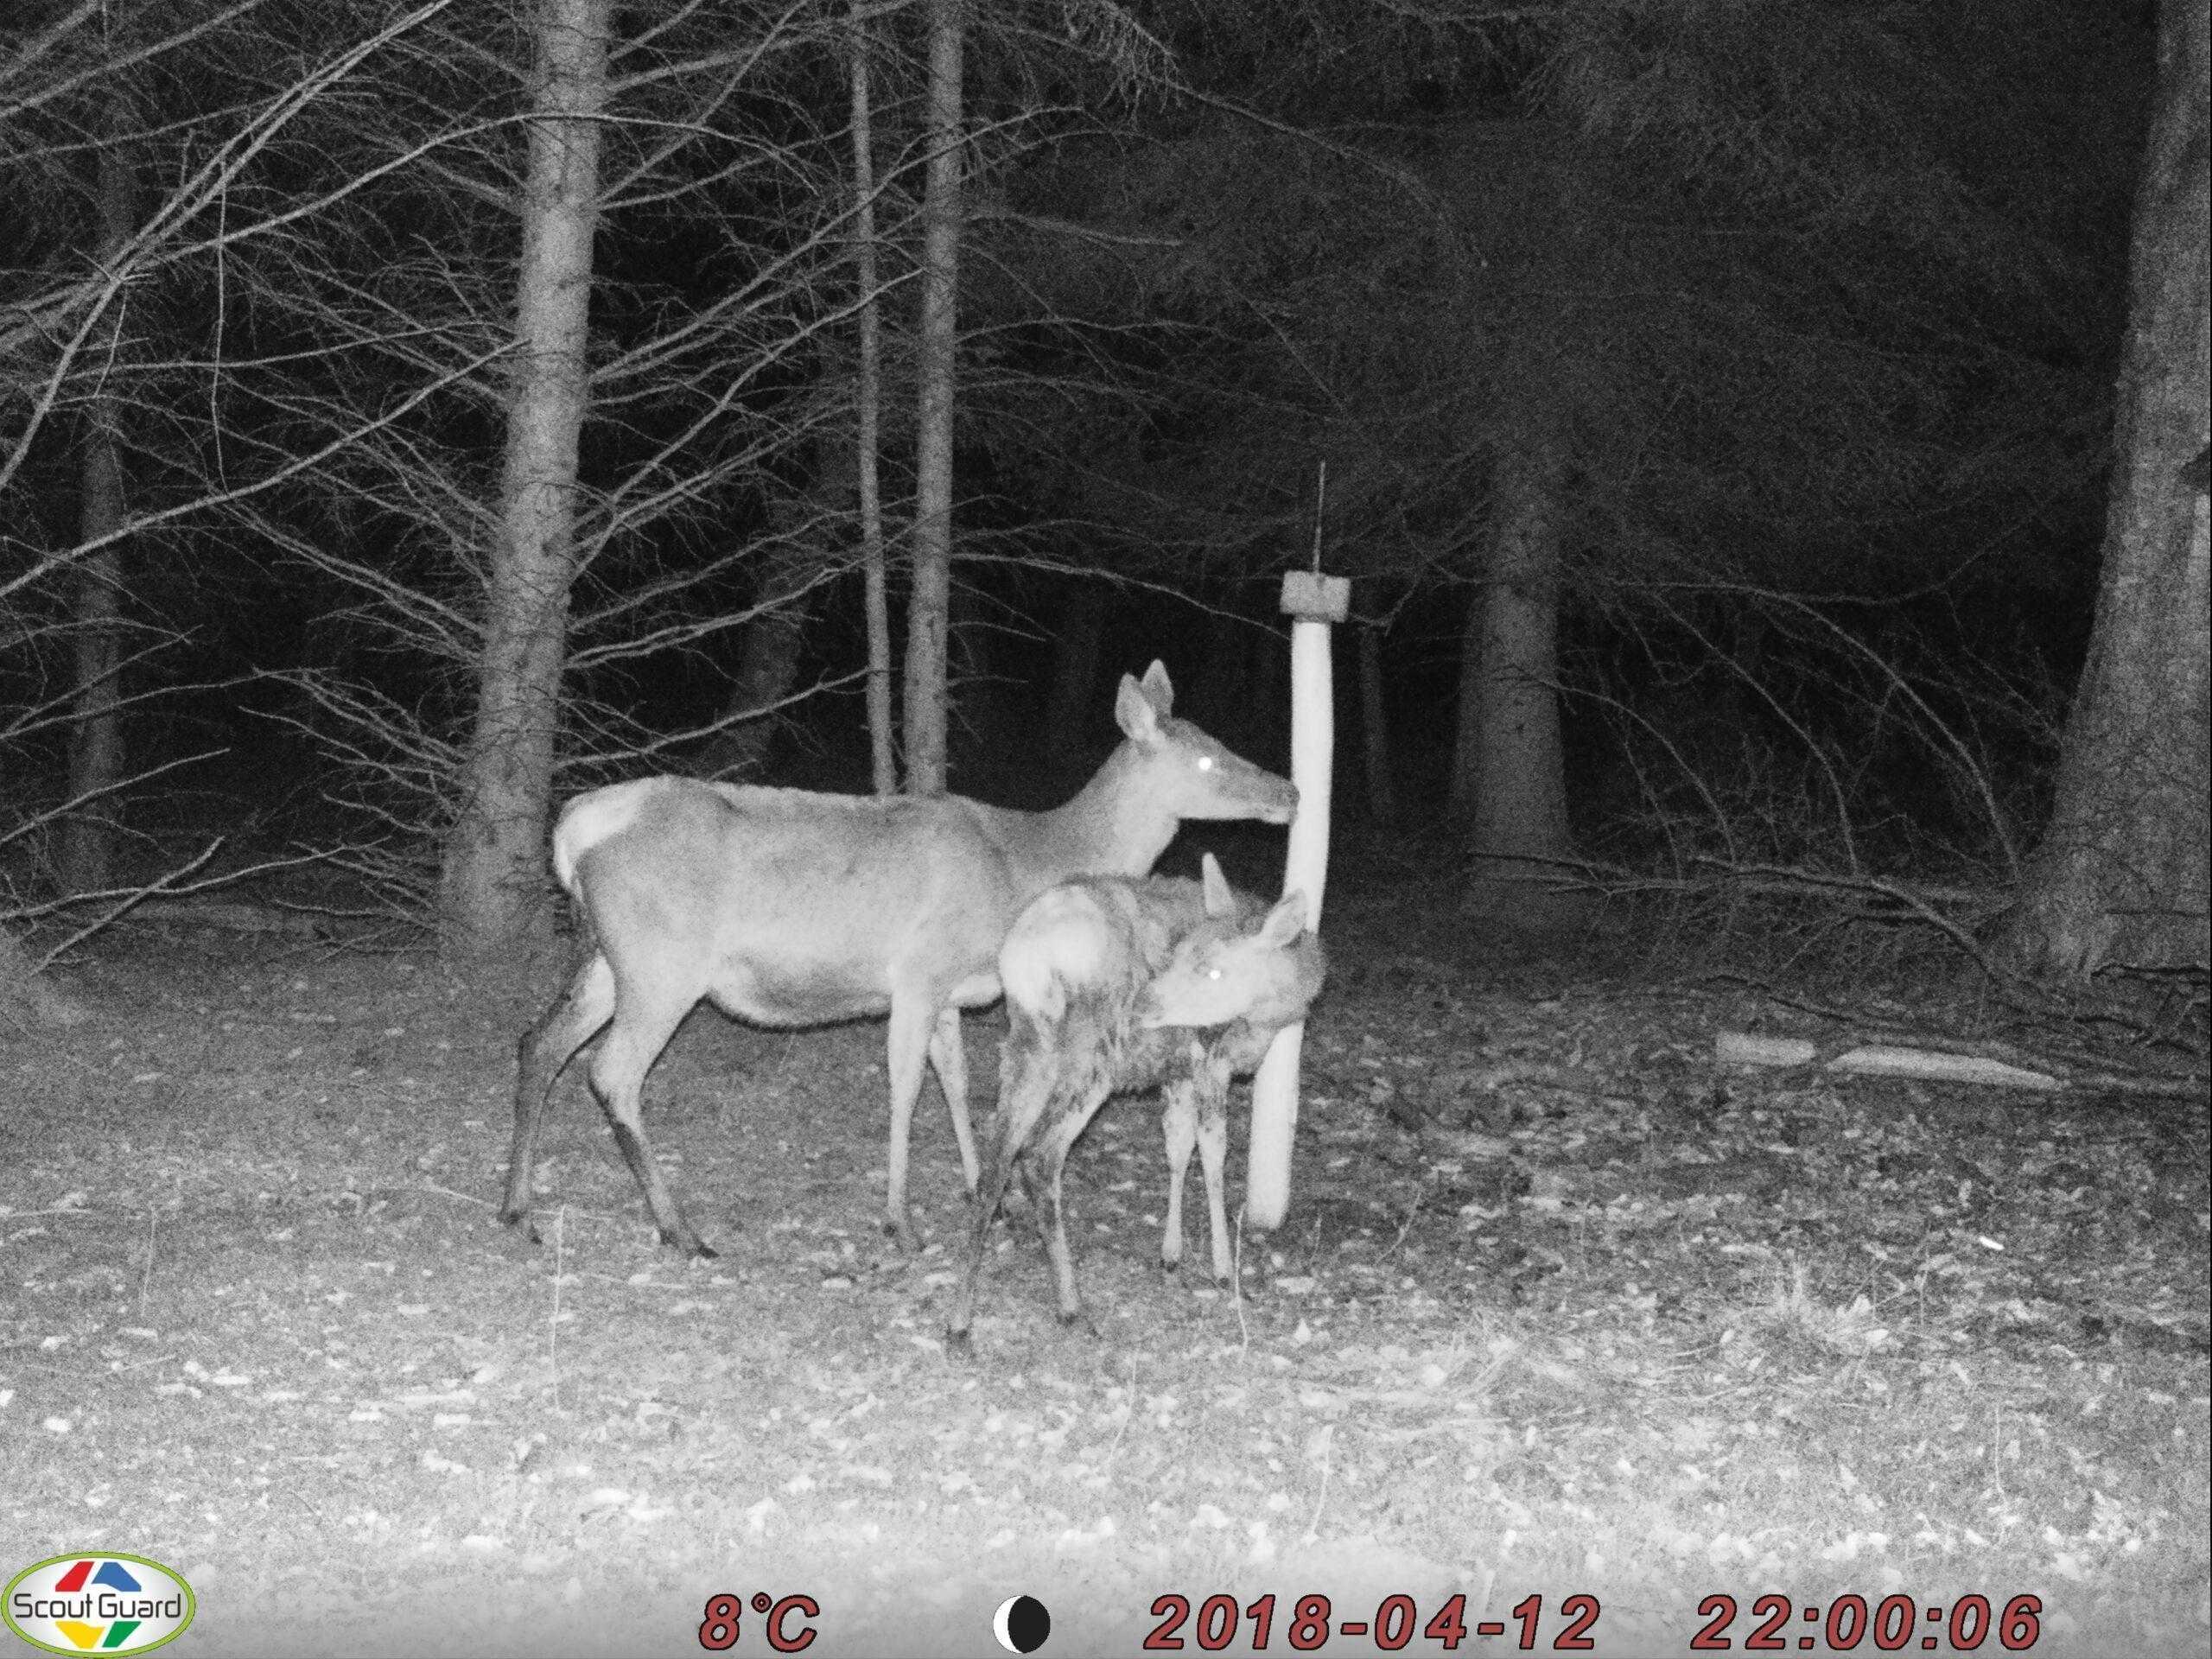
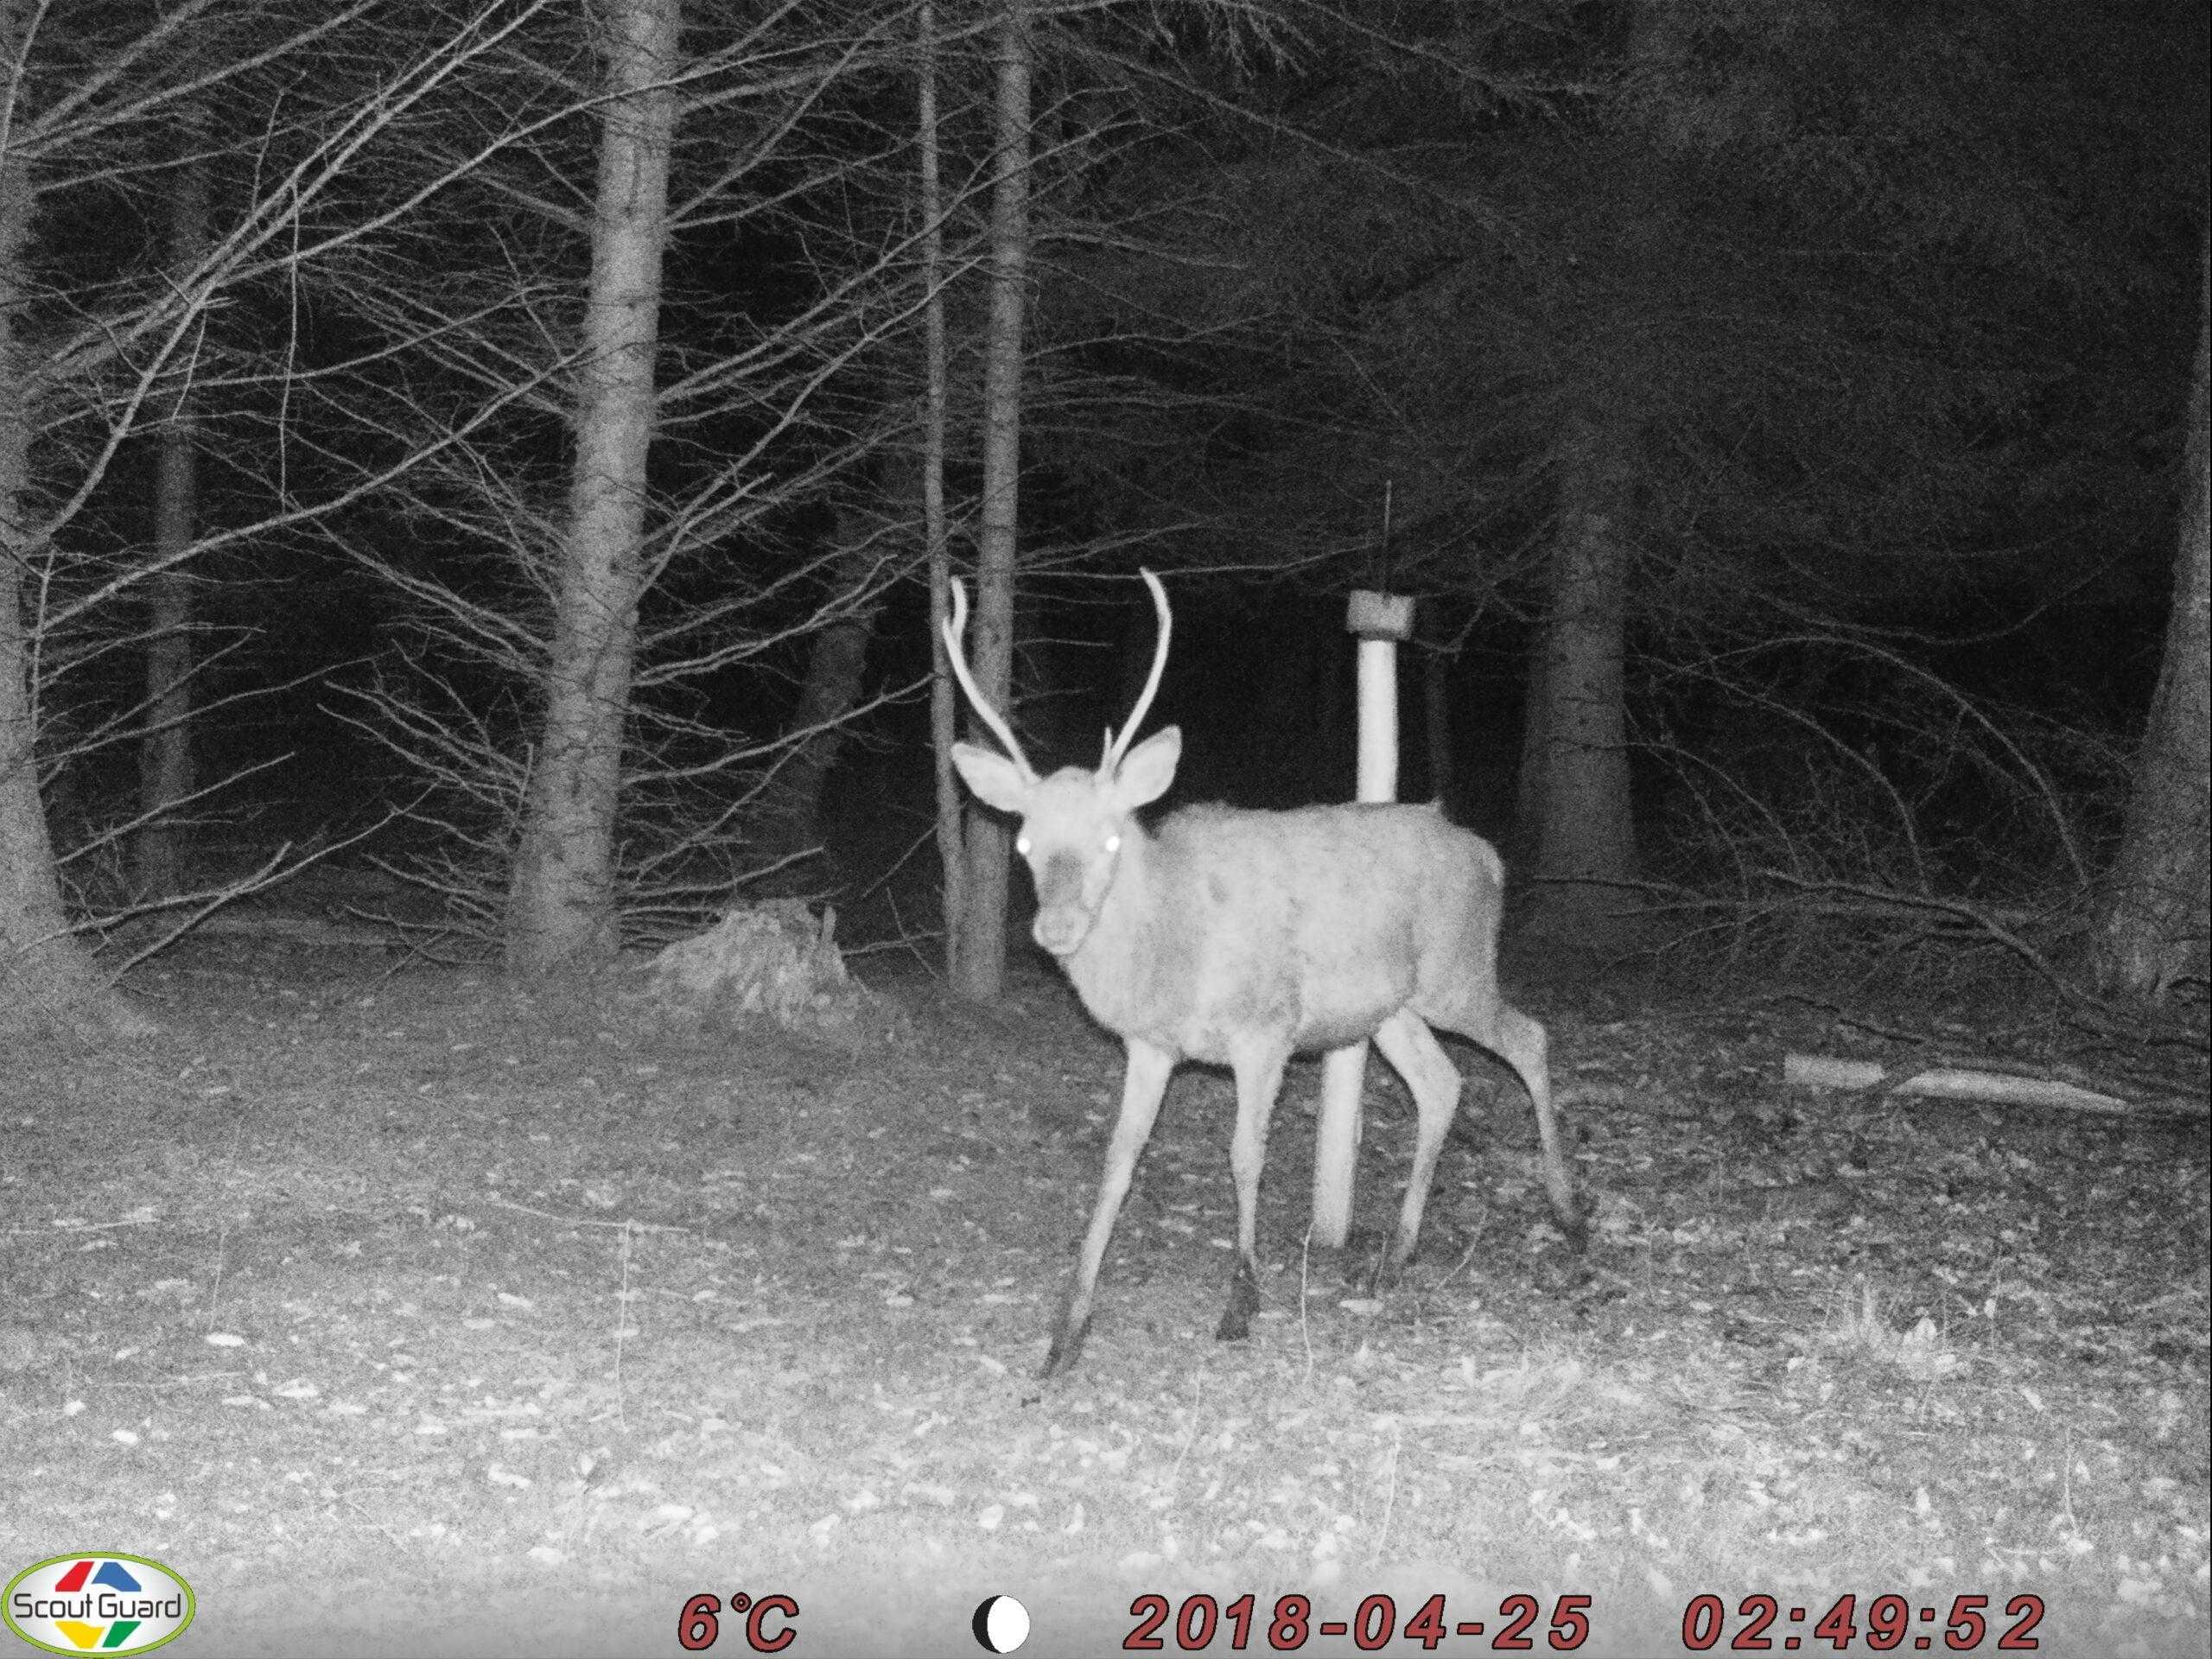
Set up the camera at the right height, angle and distance, and point it exactly where you expect the animals to pass. Also think a little about what you want to have pictures of. If its reddeer you want the best pictures of, you can hang the camera a little higher then if its just roedeer. Usually we recommend that you hang the camera at a height of between 1-2 meters, depending on the terrain and angle.
Be sure to clear out plants, branches, and other vegetation that may reach in and trigger the camera. If there is no free “field of view”, even the slightest movement of the wind will trigger the camera. If you can place the camera in an open area so that you do not have to cut branches and the like, it is of course absolutely perfect.
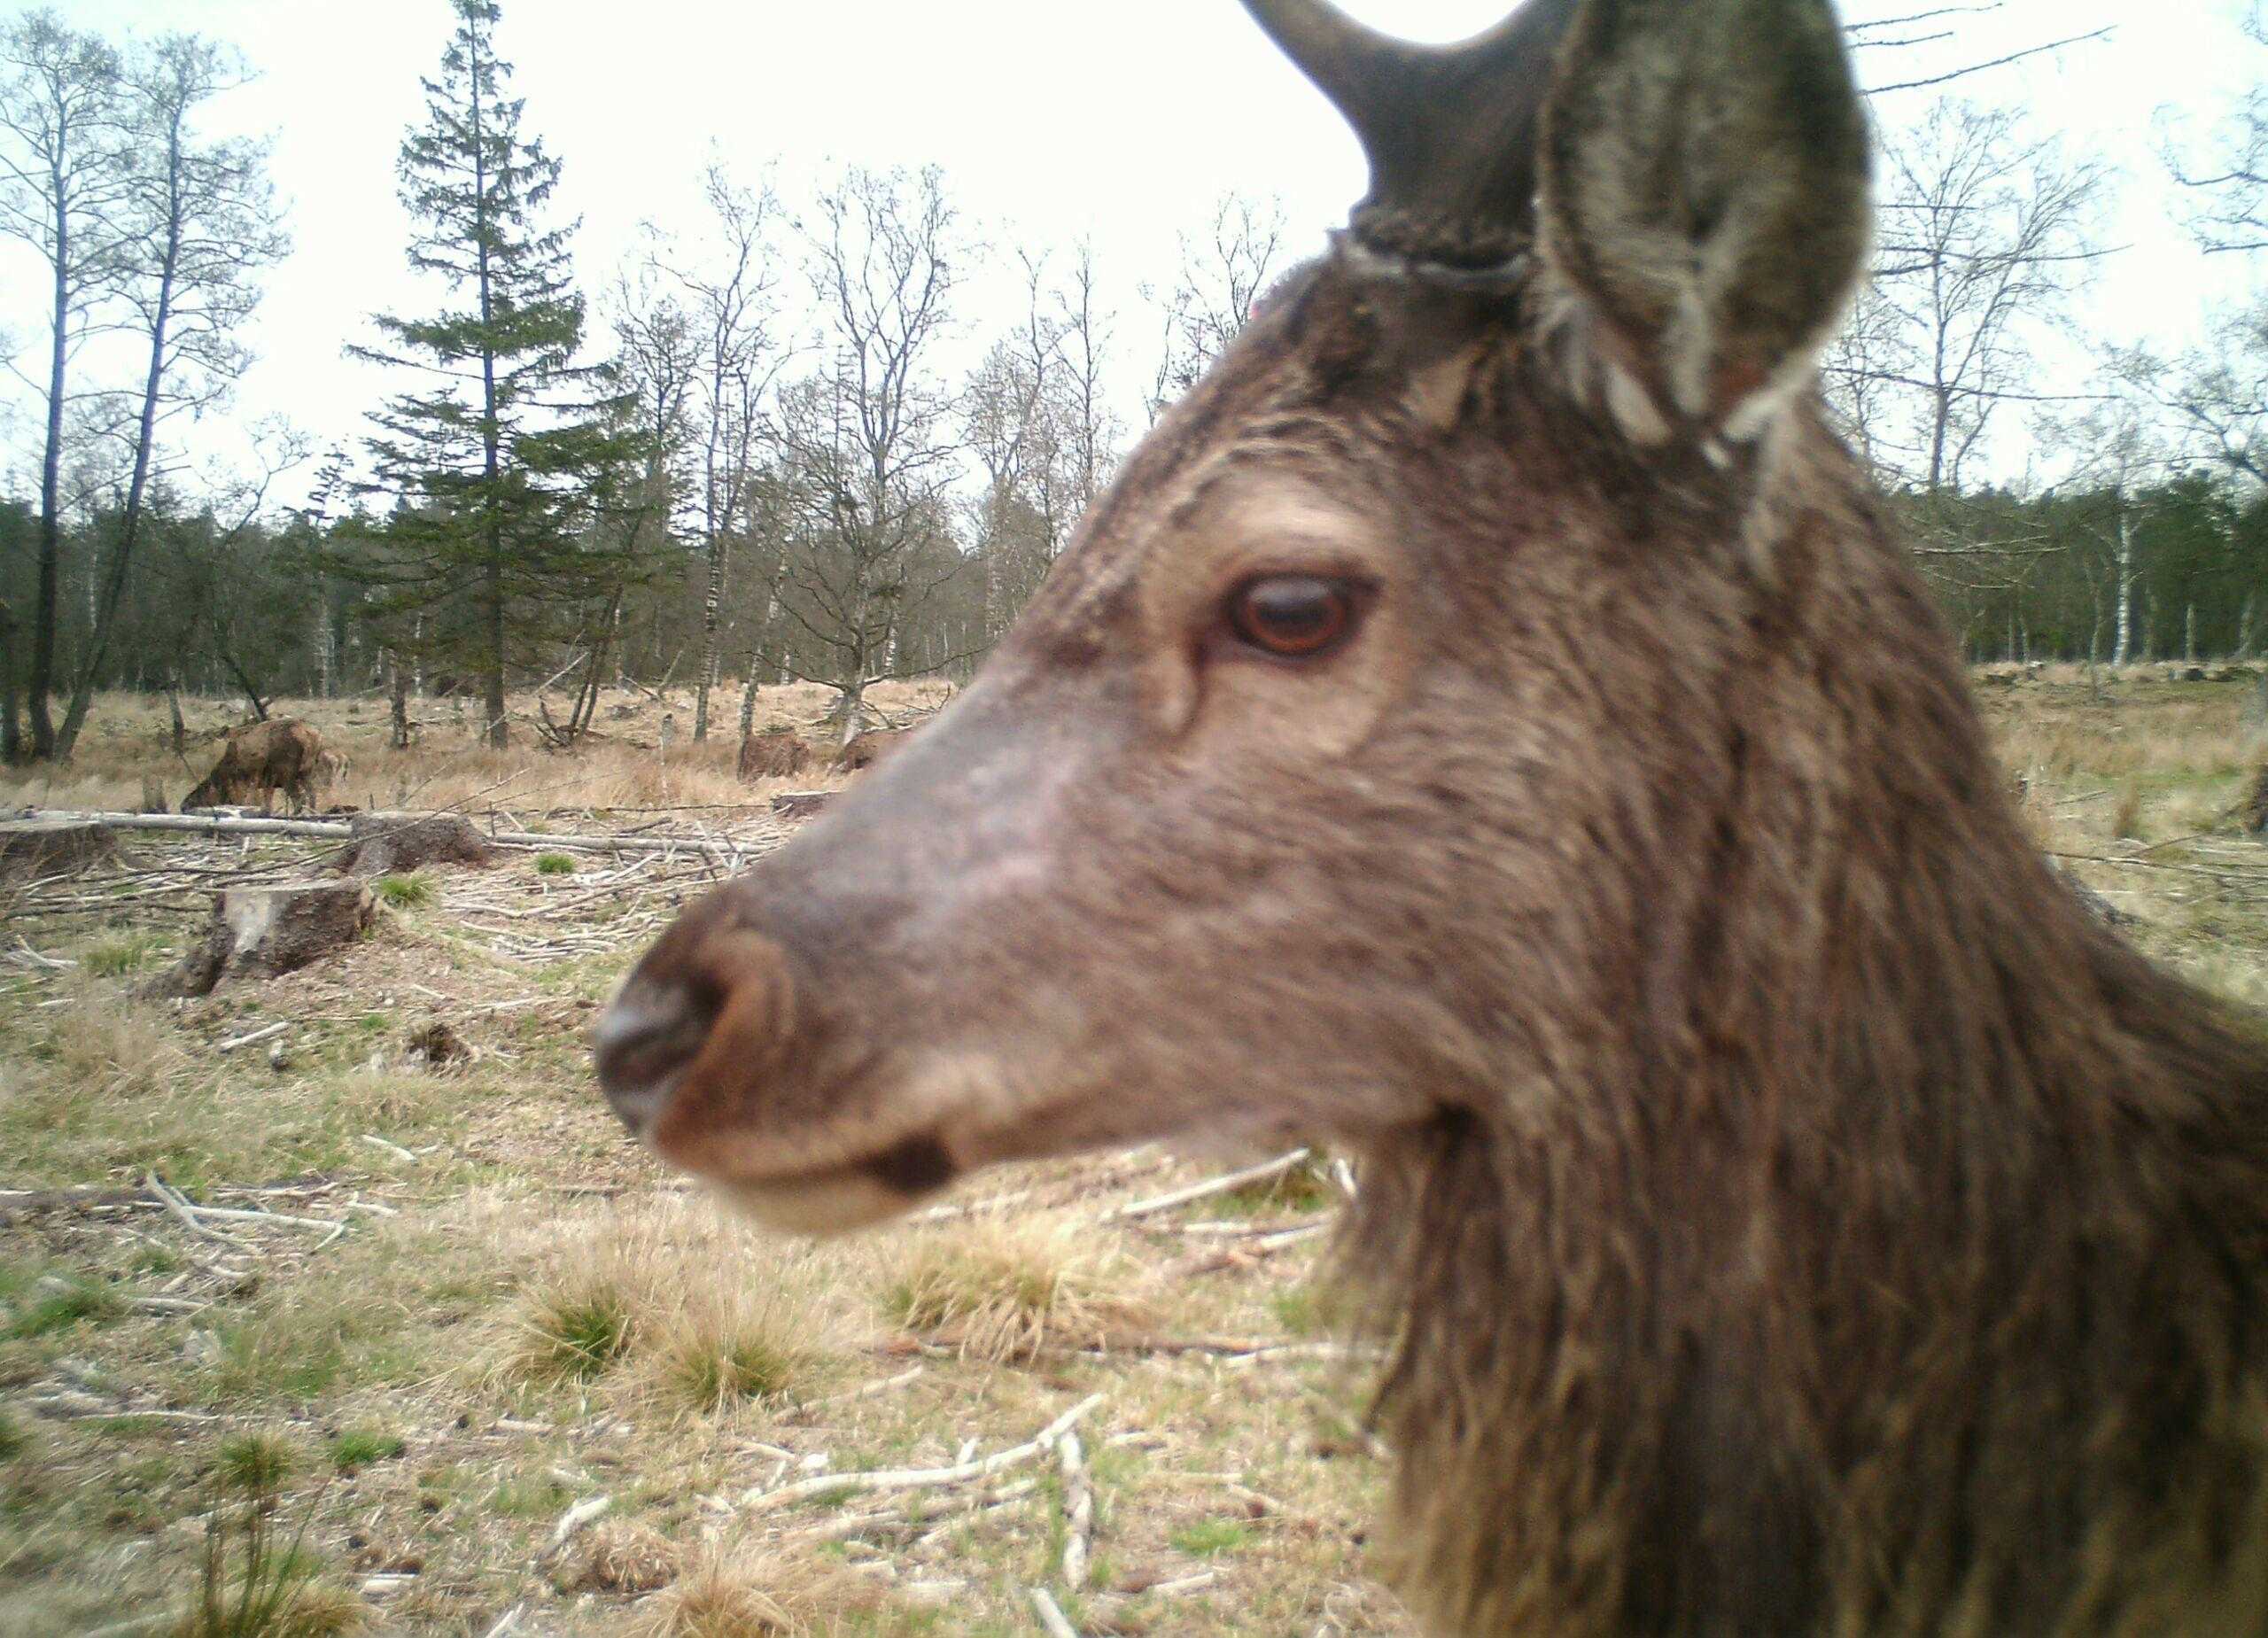
The distance is important in relation to the quality of the images. If the camera is too close when the animals pass, you will often get close-ups of the animals’ bodies (difficult to distinguish male and female from each other). If, on the other hand, it is too far away, you risk that the sensor does not capture the animals’ movement at all. A distance between 5 and 15 meters is suitable for most setups.
You can check the distance, by walking in front of the camera sometimes until you think the picture is perfect. A little extra time to double check the angle, height, distance and settings is really well spent. Especially if you have a long way to your hunting ground.
Let the game camera work
It’s really easy to be tempted to check the game camera often once it’s hung up. However, we would advise you to let it hang for a minimum of 14 days at a time before checking it out. Then there is more calm and less traffic in the area. This will make the animals calmer as well and they will get past the camera more often.
Fortunately, however, there are a large number of game cameras that can send photos and videos home to you. This can be done either by MMS, by email or by an app solution. We have several cameras from both bolyguard and spypoint which have these functions.
These cameras are widely used by hunters that want live pictures from the terrain. In addition, they are also widely used for surveillance tasks both professionally and privately.
-
 Bolyguard MG984G-36M – 4G LTE€349.00
Avoid theft
It does happen that game cameras are stolen from the hunting areas. So if you hunt in an area where there is a lot of people around, anti-theft protection may be necessary. Fortunately, there are several solutions to the problem.
You can secure your game cameras with a cable lock or a steel box for the purpose.
We hope you got the help you need, so you can get the most out of your trail camera
Are you going to use your trailcamera at a feeding plot ? Then we have this article which may also be interesting to you. How to make a feeding plot for wild boar